DIY cold pack, not to be confused with cold pop (see ‘Sweet Brown’ on youtube for reference). Its only 42 seconds long, do it.
Anyway, if you are that special kind of hipster that likes hearing grotesque stories, I’ve had my spine sliced open not once but twice (by a highly qualified surgeon, check out my sweet scar, its basically a badass tramp-stamp) so that leaves me in need of something to ice my back from time to time. I was going to actually spend money on this but then I remembered about bean packs.
I know what you’re thinking. Beans? Cold? Hot? What? But it is actually totally legit, my mom used them when I was growing up, and the awesome part about them is that they are not jarringly cold. For instance when you have to put a traditional ice pack in a towel so the coldness doesn’t touch your skin. Not only that but you can put it in the microwave and it can be used as a heat pack as well.
Supplies needed:
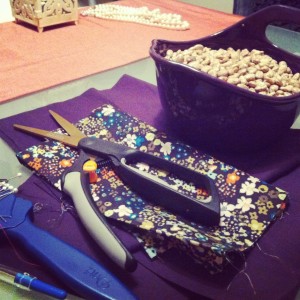
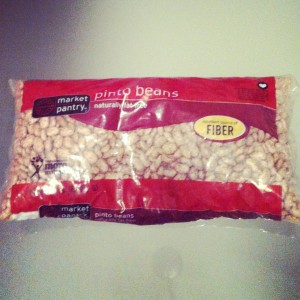
1.) DRIED Beans, I used a 2lb bag.
2.) Cotton fabric
*I am using a remnant piece from an old project because this doesn’t need to be that big, and I also
chose a more flexible fabric that would be comfortable touching my skin.
3.) Basic sewing supplies
Step 1
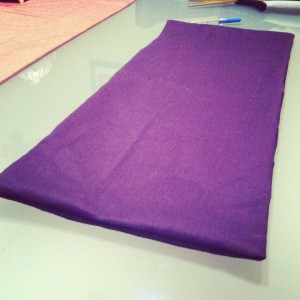
Decide how big you would like your pack to be and cut 2 alike pieces of fabric.
*I chose to make it the size of a fabric quarter, I used the patterned fabric quarter as a guide on how big to cut the fabric I was using. Using a fabric quarter makes it a wide rectangle, but like many things when it comes to sewing, this is 100% customizable.
Step 2
Pin the pieces of fabric right sides together. 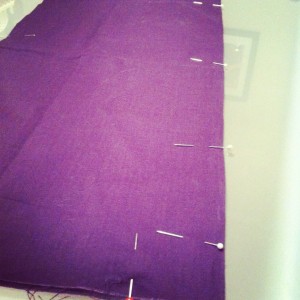
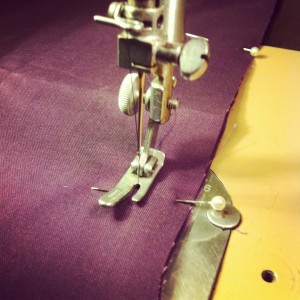
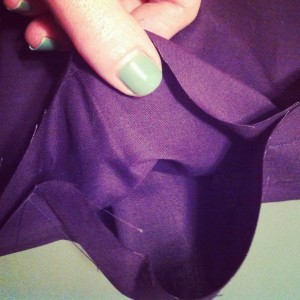
Once pinned sew around the edges, and leave a 3 inch gap open so you can add the beans.
*When you come to a corner leave your needle in and rotate the fabric, this will ensure a clean edge.
Step 3
Remove the pins and turn the fabric right side out, take a dull pencil to the edges if they are not turned all the way out.
Step 4
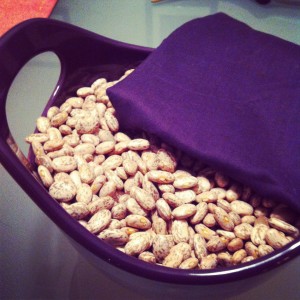
Add the beans.
I recommend using a funnel made of a sheet of paper and possibly an extra set of hands. So it doesn’t turn out awesome, like this.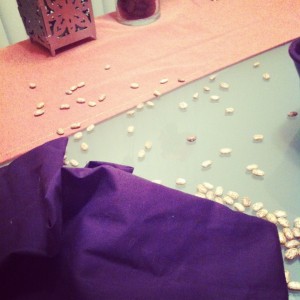
Step 5
Once the bag is filled to your satisfaction fold the raw edges of the fabric inward and pin it. I highly, ultra mega recommend hand stitching the closing. I would show a picture of mine, but it looks like a blind monkey did it. The monkey also just learned to sew today. The look of the hand stitch isn’t crucial, as long as it keeps the beans in.
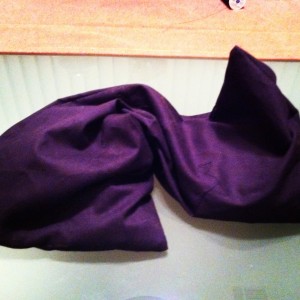
Aaannnndd you’re done. Throw that thing in the freezer or the microwave and start using it.
Heres a secret, if you don’t feel like doing all that leave the beans in the bag.





0 Comments