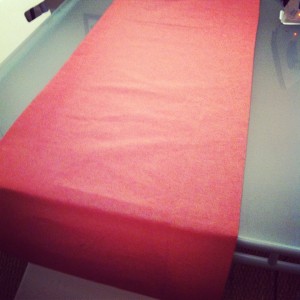
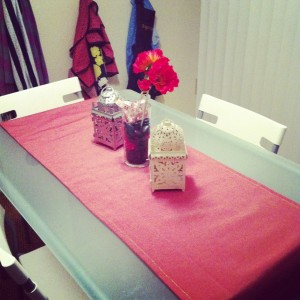
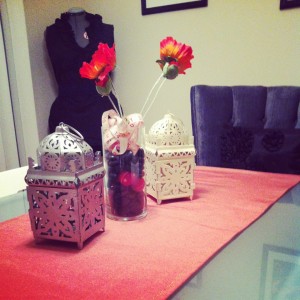
I love these. They are really easy and it makes a beautiful addition to a table. What I like about a runner is that it does not cover the entire table and it can be made from left over fabric. I’m absolutely in love with this red fabric, it is the same fabric I used for the cat toys. It is a tough red canvas and the predominant color is red, but it also has subtle gold thread woven into it. Love. The best part about this project is that its fast, I rolled into house at 7pm and its now 8:13pm and everything is done, mess is cleaned up and pictures are taken.
Supplied needed:
1.) Fabric, I like using a thick sturdy canvas for this, and the size will vary with your table.
2.) Basic sewing supplies
Step 1.)
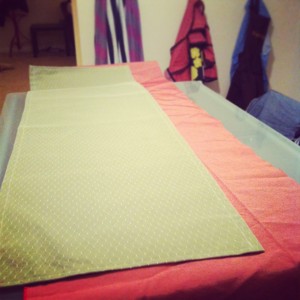
Lay whatever fabric on your table so you can get an idea of how big it needs to be. I used my other table runner as a guide on how wide and long to make this one. Keep in mind when you are eye balling that it will get smaller after you fold over the edges and sew them.
Step 2.)
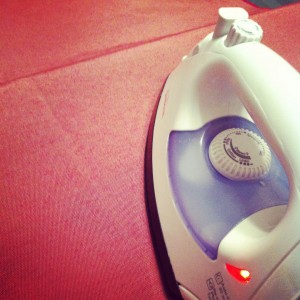
Iron. Iron it all. Twice.
Step 3.)
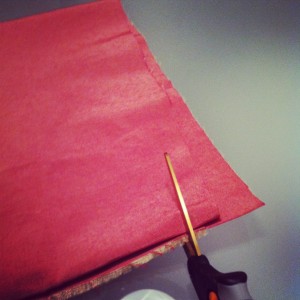
I don’t know if I invented this super sweet method of straight cutting but if I did I am a genius. Instead of trying to cut an extremely long piece of material straight fold it over several times, and you will have to cut a much smaller length, thusly increasing your chances of a straight cut.
One edge of my fabric was the raw edge from its production, so that edge was completely straight and I just had to worry about the single edge. This makes it much easier to have a straight cut.
Step 4.)
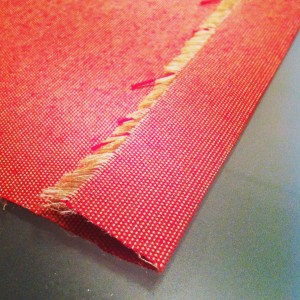
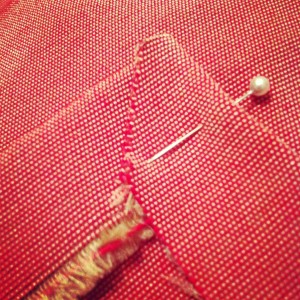
Fold all of the raw edges over and iron them.
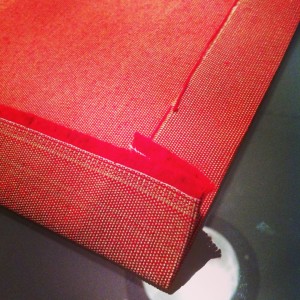
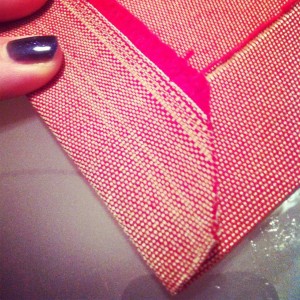
The corners will be a little chunky, so I like to snip them diagonally to prevent lumps in the corners.
Step 5.)
Almost ready to sew. Before you sew test the table runner on the table to make sure it is the right size, and everything is straight etc.
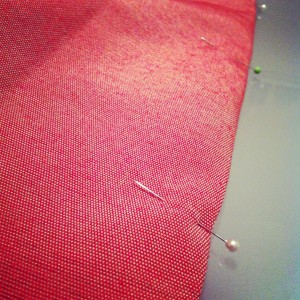
When you are sure it all looks right pin it, it wont need many if you are using a thick fabric like this, but be sure the corners are pinned well so they do not come apart while you are sewing.
Step 6.)
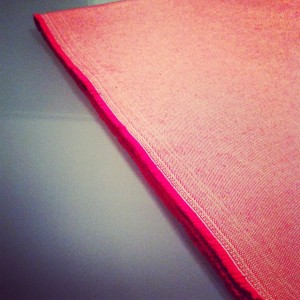
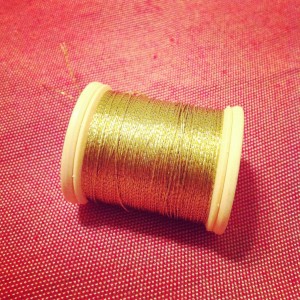
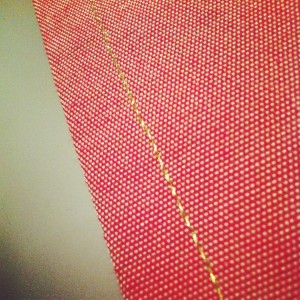
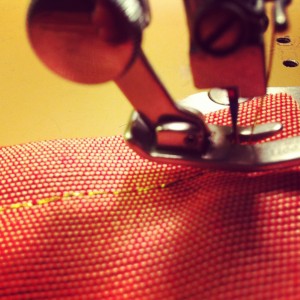
Ready to sew. I chose a contrasting gold thread (I was 100% amazed & grateful I had it), and I was afraid I would regret it, but it went off without a hitch and it looks great. So for this application don’t be afraid to use a contrasting thread to give it a unique look.
I used the widest stitch on my machine, and since i was using this thread (it was a bit coarse) in conjunction with this thick fabric I played with and tested my tension quite a bit before I started on the actual runner.
The great thing about a table runner is that it literally take one stitch, there is no reason to stop, you can do the entire thing in one continuous stitch. The trick is when you come to a corner make sure your needle is in the fabric, lift your sewing foot and rotate the fabric.
That is it! Once you come back to where you started with your stitch be sure to to a forward stitch and a back stitch to prevent the thread from coming apart.
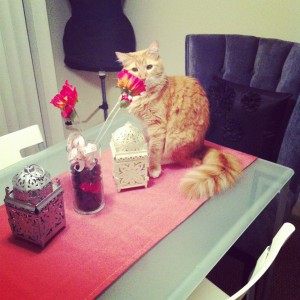
I recommend ironing the piece before you put it on your table again, mine got wrinkly while i was sewing it. This is extremely easy, not to mention cheap and it can really improve a tablescape. Also the cat has a new sitting area. Awesome. Glad he likes it.




Good job Ry, very informative!
Love You,
Grandma
by Joan Swanson February 2, 2013 at 03 : 26